Get Started with Themes
A Weebly theme provides a general structure and design palette for any website built using the Weebly editor. Weebly strives to provide ultimate flexibility for our users, so our themes don't dictate a template or a mandatory organization of content. Instead, they provide a beautiful backdrop for the site's content.
To get started, create a web site that you can use to test your theme. Then download our Base theme as a starting point, and start building from there! Or find a theme you mostly like and then change the things you don't.
To get started, create a web site that you can use to test your theme. Then download our Base theme as a starting point, and start building from there! Or find a theme you mostly like and then change the things you don't.
Weebly themes can offer quite a degree of flexibility, like allowing the site owner to change colors to match their branding or adding search functionality or hiding areas of the site. Site owners can also change the fonts used throughout the site. Site owners make these changes from the Theme tab of the editor.
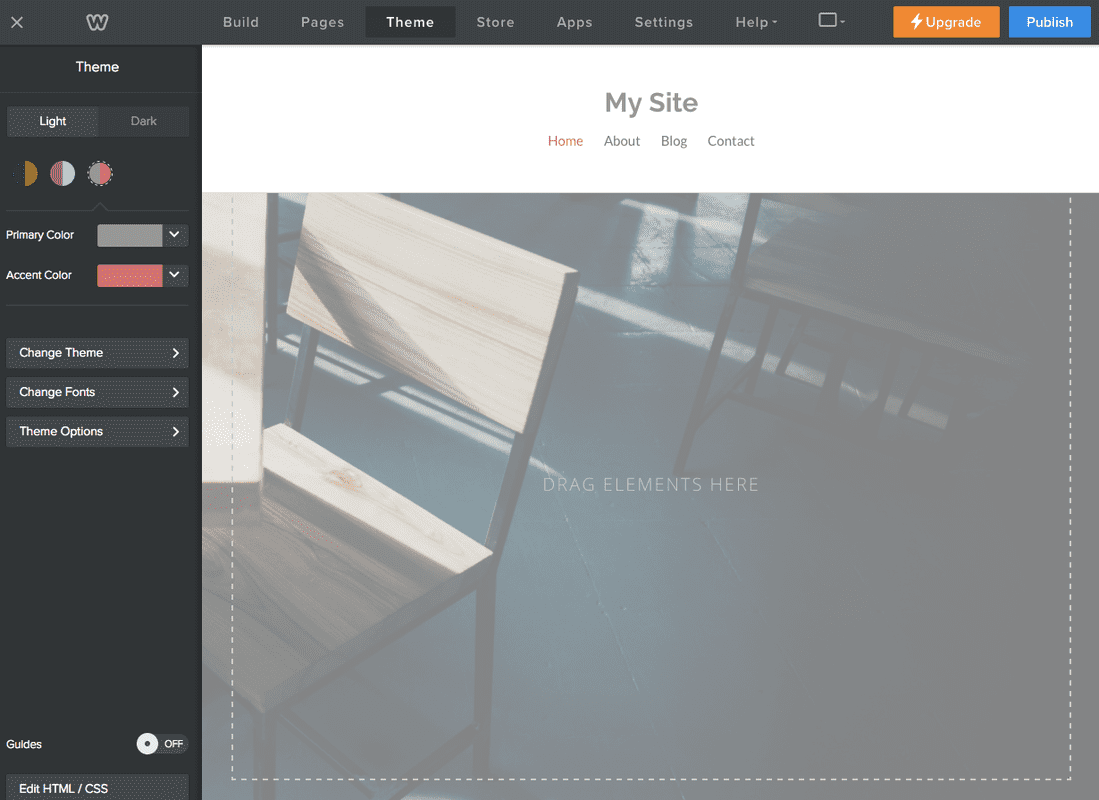
As a theme developer, you decide what aspects of your theme you want to be changeable and what you want to remain fixed.
You use the Code Editor in Weebly to customize and create themes, accessed by clicking Edit HTML/CSS at the bottom of the Theme page.
All the files that you’ll need to edit to create your theme are listed in the left panel. You can edit HTML, CSS, and JSON files here, or you can export all the files and use any external editor. Once done, you can import your new theme back into the editor for testing.
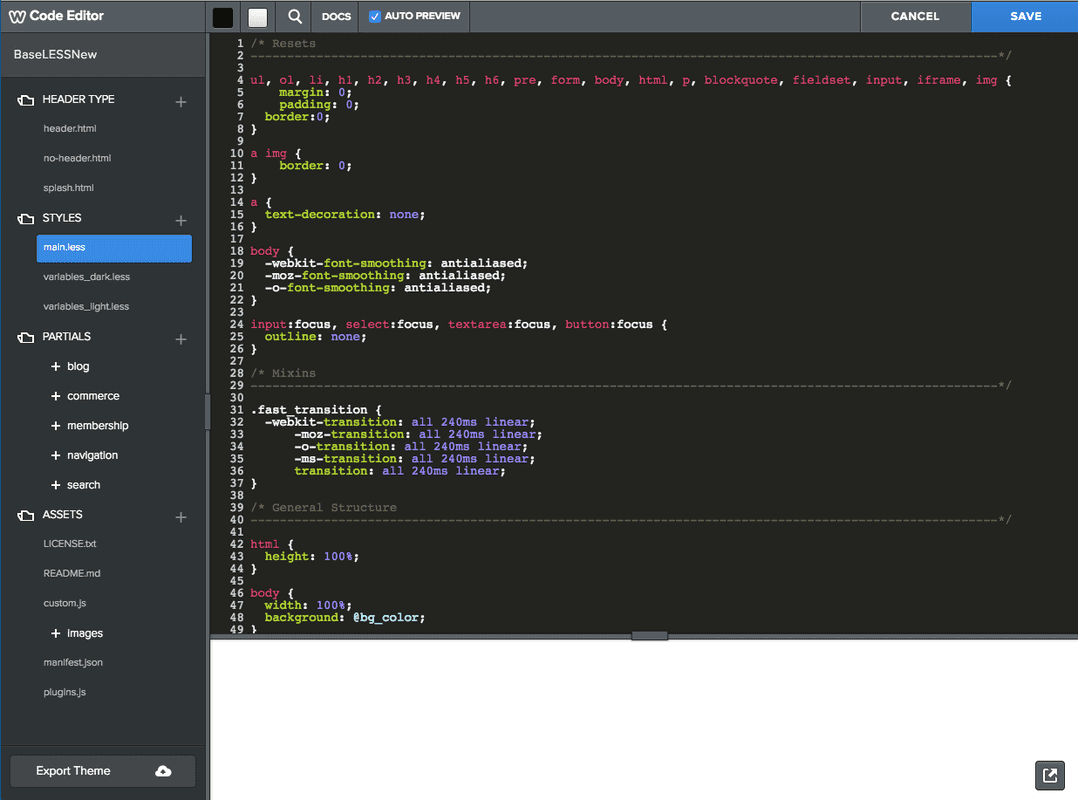
You can upload files or create new files by clicking the + icon to the right of the associated file type. For example, you might create a new header HTML page by clicking the + icon to the right of HEADER TYPE. Uploaded and new files are automatically put in the correct directory for you. You can rename (or delete) a file by clicking the gear icon next to it (mandatory files cannot be renamed or deleted).
If you want to get a quick understanding of how to customize and create themes, check out our theme tutorial.